
A
dmit, are you one of those people who toss their freshly prepared shortcrust pastry in the tart mold and then press it in with your fingers? Are you?! Well, don’t get me wrong – I’m not saying that you won’t make some sort of tart that way, but… By doing that finger-pressing action, you actually torture your delicate shortcrust pastry that has to be kneaded minimally, and you get an uneven, thick layer of dough, full of indents. And believe me; you CAN do better than that! If you take a few minutes to see how it’s done, I will teach you! Prepare to take off.
What is a Tart?
Just before we roll up our sleeves and start making one, let’s see what is a tart!
A tart is a baked dish made of layer of, in most cases shortcrust pastry on the bottom and the sides, and the filling on top of the dough. Unlike a pie which is also covered with pastry on the top of the filling, a tart is always open on the top. The filling can be sweet or savory, although modern tarts are usually sweet.
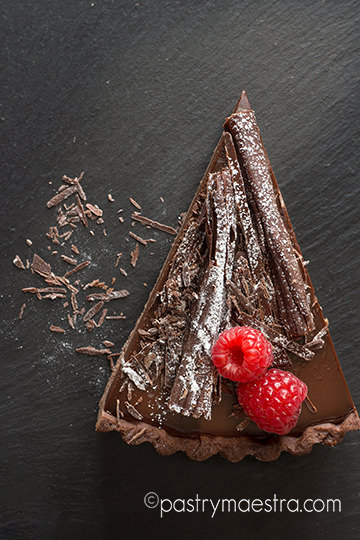 The name comes from the French term “tarte” which means both – a pie and a tart.
In Medieval Europe pies were very popular. They were mostly savory pies filled with cheese, eggs or different sorts of meat, but here and there one could taste sweet pie filled with fruits. Also, it wasn’t uncommon to find a mixture of sweet and savory ingredients in one pie at that time. Some 200 years later, in the 16th century it is believed that shortcrust pastry appeared, and at that time sweet tarts were a matter of high cuisine reserved for nobility while humble pie filled with offal and leftovers was a commoner’s everyday food.
Nowadays tarts are in most cases sweet. Whether they are large or small, simple – filled with apple compote, chocolate ganache, lemon curd – or a little bit more elaborated, tarts are for sure appealing and irresistible sweet treats.
First Step – Making the Dough
First things first – to line a tart mold, you have to make the dough – and the best one is made from scratch. Naturally, I have made a whole post about making shortcrust pastry, so check it out to learn everything about methods and musts of making it.
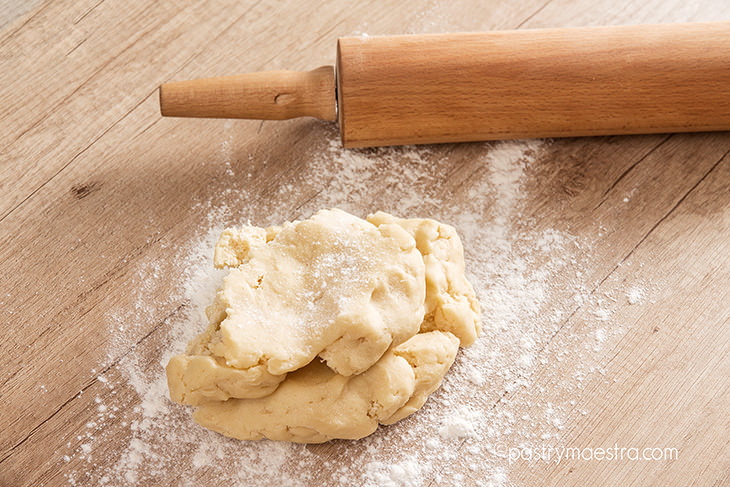
Well, you have made your pastry, and now you have to leave it to rest in the refrigerator. No matter what ingredients you used, the process is going to be the same.
What Mold to Use?
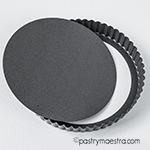
While your dough is chilling, let’s talk about molds. I have tried to make tarts in various molds, and I can tell you with confidence – removable bottom molds are the best! Once when your tart is baked and filled, you have to cool it down, and remove it from the mold, of course. If you have the mold with removable bottom – removing your tart is a piece of cake!
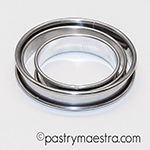
Tart ring is also practical, but it is mostly used for making smaller tarts in professional bakeries. However, it is easy to get one, and even easier to remove your finished tart. The only difference is in the appearance of your tart, the one from the mold with removable bottom will have fluted sides, and tart from the tart ring – won’t.
Rolling the Dough
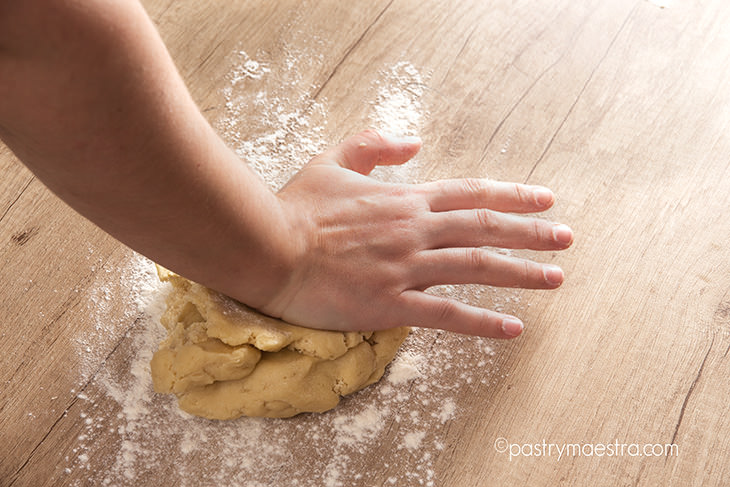
When your dough is nicely chilled and rested, take it out, break it with the palm of your hand, and press it over the table surface a few times until it gets more elastic. You shouldn’t do it too long; the pastry has to stay as cold as possible. Just so that you know – the French have a fancy expression for this process – it is called fraiser [frεze].
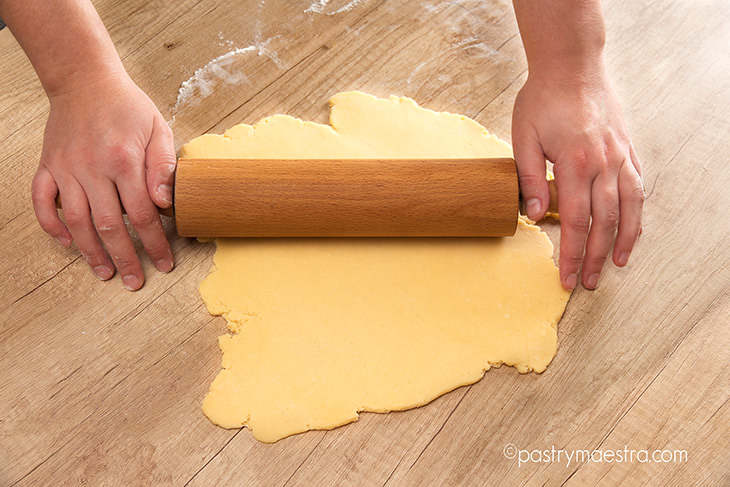
Now you are ready for rolling. Take a little bit of flour (and I mean a little bit!), and sprinkle it on the table. Put the dough on the flour and start rolling with your rolling pin. At this stage, it is important to rotate the dough as you roll, so it doesn’t stick to the surface. If you need more flour, add it carefully – if you add too much flour, it will affect the texture of the pastry. Keep rolling and rotating until you get even, 3-5mm (0.1-0.2 inches) thick sheet, which should be larger than your mold. How do you know that? Take your mold and put it over your rolled pastry, that’s how!
Putting the Rolled Pastry into the Tart Mold
When you are happy with the thickness and size of your rolled dough, it is time to roll it onto your rolling pin, put it over the mold, and gently unroll the pastry. Now you have this:
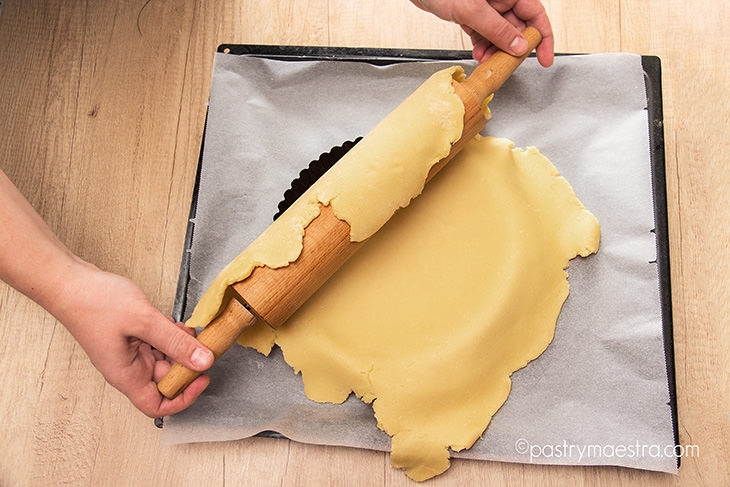
The next step is to quickly lift the sides of the pastry and tuck it into the mold without breaking it, which isn’t simple, especially at this moment when the dough is at room temperature for some time. Try to be fast and careful at the same time.
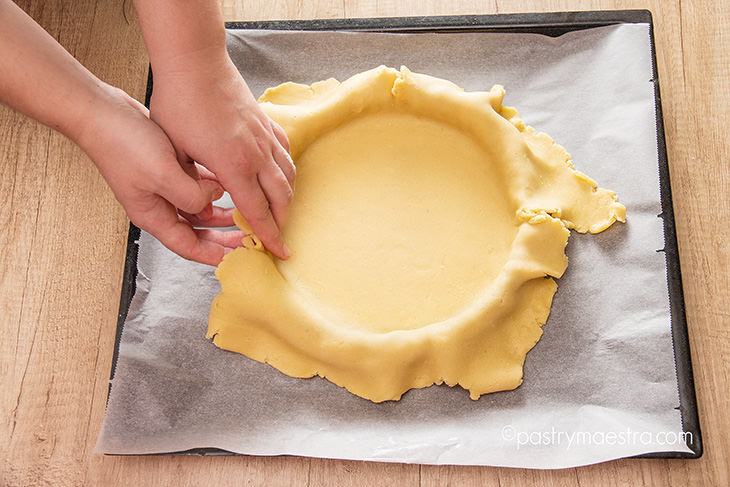
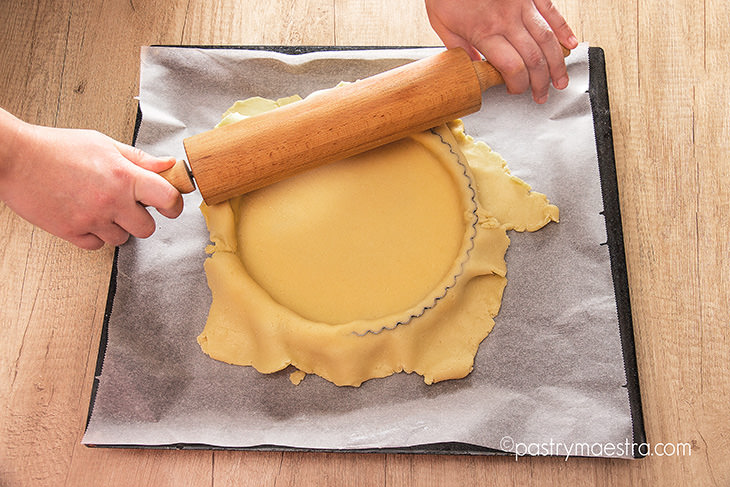
When you have tucked in the pastry, it is time to remove the excess dough. The easiest way to do that is to take your rolling pin and press in the middle of the mold, and roll out to one side, and then the other one. Don’t go from one side to the other in one go, you could stretch your pastry and ruin all of your hard work you have done by now!
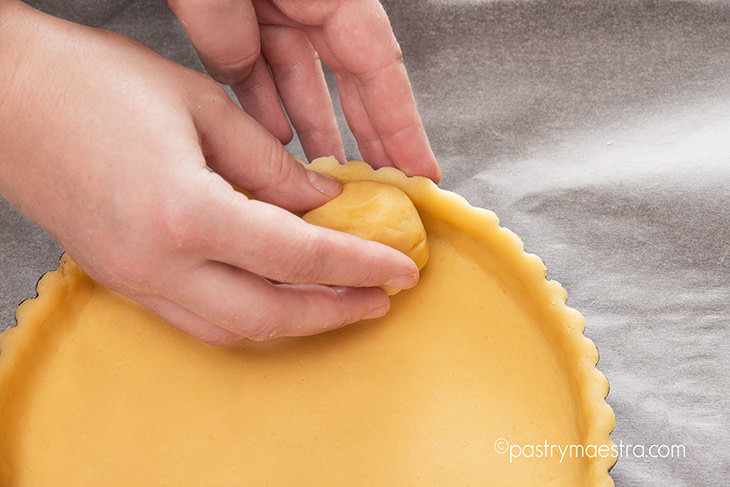
And now – it’s time for play-dough, so to speak! Take some of the remaining pastry and form it into a ball. Roll the ball in the flour, so it doesn’t stick, and gently press the ball to the sides of the pastry in the mold. I like to do this with my thumb, as you will see in the video, but in that case be very careful not to make indents in your tart shell.
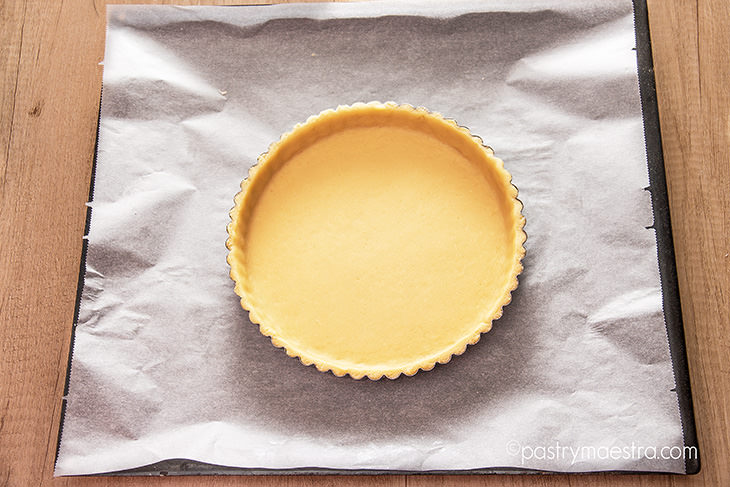
Voilà, you have successfully lined your tart mold! Put it in the fridge to cool down and rest the gluten, at least for 10 minutes.
Baking Weights or Baking Beans
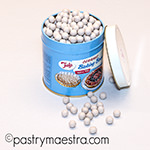
Before you put your precious tart shell in the oven, you need to do one more thing – fill it with baking weights. Why – you ask? Without weights, meticulously tucked and flattened sides of your tart shell would just melt and slide down while baking, and the bottom of the tart would rise – so find some thermostable clingfilm or parchment paper, and you can even use aluminum foil. Put it inside the chilled tart shell and fill it with weights all the way.
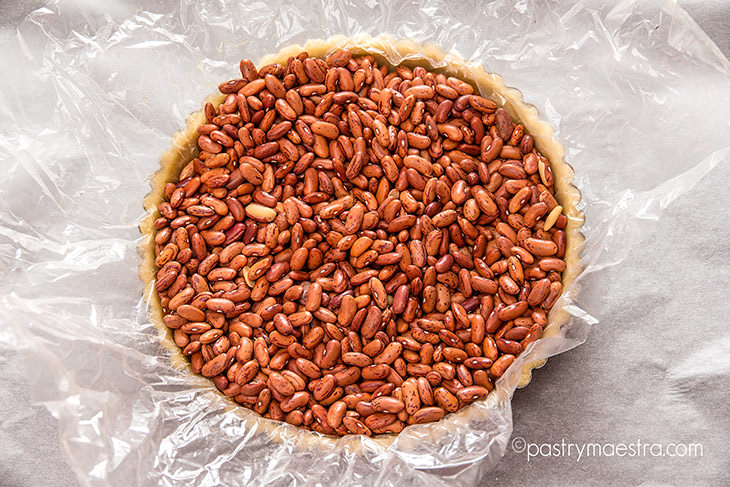
If you don’t have weights or you don’t want to buy them, you can use some dry beans or chickpeas like I do. After they cool down, don’t throw them away, put them in a box and you can reuse them!
Making Tart Shell Without Weights
There are ways to make beautiful tart shells without weights! In modern pastry there are some new recipes that contain a little bit of almond flour which makes all the difference. When you line your tart mold with that kind of pastry, you just need to chill it well, and you can bake it without baking weights. Cool, right? If you are looking for that, check my soft caramel and chocolate ganache tart and Piña Colada tart recipes!
Baking the Tart Shell
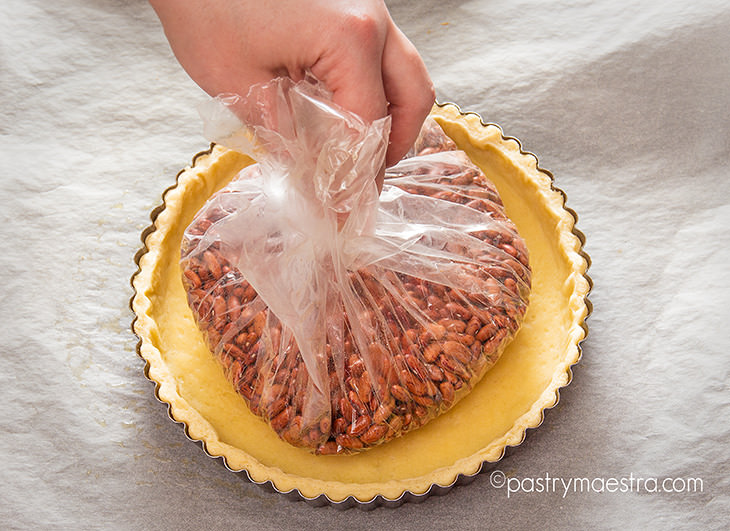
Finally, you can put your tart in an oven heated to 180°C (350°F). Bake it for approximately 10 minutes. You have to check the edges of your tart shell, if they are dry, you can remove the weights. Take the plastic film, pick it up along with the weights, and put everything in a box to cool. Put the tart shell back into the oven to bake entirely.
What is Blind Baking?
Blind baking is baking the tart shell without the filling. There are two ways of making tart shells or pie crusts:
- The first way is to partially blind bake the tart shell. That means that after you have removed the baking weights, you return the shell to the oven and bake it for 5-10 minutes until it starts getting some color. Then you put the filling in and continue to bake the tart with the filling until it is done.
- The second way is to fully blind bake the tart shell, which means that after you remove the baking weights from the shell, you put it back in the oven until it is golden brown, and completely done.
Well… I got hungry of all this tart shell stories, so I just might grab a bite of caramel and milk chocolate ganache tart waiting for me in the fridge! And I can tell you – it’s not just delicious, but beautiful as well – my crust is even all around and my ganache is sitting in its crusty cradle like a dream. Mhm, me like it! If you want to do the same, and I really hope that from now on you will make your tarts like I described, at least try once, and don’t forget to let me know how it went!

Well, what do you think about this post?
Please leave your comment on YouTube, thank you!
I read and really appreciate all the comments, even though I do not always have the time to respond to each one. So – keep me in the loop and try to create some sweetness every day because – Sweetness is happiness!!


