![]()
T
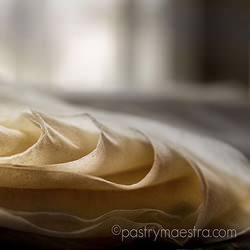
his dough has so many names, and if you look at the main ingredients – flour, salt and water – someone might think it is simple to make it, but don’t jump to conclusions until you take your shot! For this puppy, you will need a large table, steady hands, and loads of patience, but I can assure you, the reward will be tremendous! Thin, soft and crispy at the same time, buttery melt-in-your-mouth wrap around basically any filling you like – and the extra bonus is that you can use this dough for sweet and savory snacks! Lovely, isn’t it?
What is Phyllo (Filo, Fillo) dough?
Although the name of this dough is originated in Greece (in Greek phyllo means ‘leaf’), its true origin is unknown, but claimed by many – Indians, Turks, Syrians and even Austrians! It is made of flour, some water, a bit of oil, vinegar, and salt, and some recipes call for whole eggs or egg yolks.
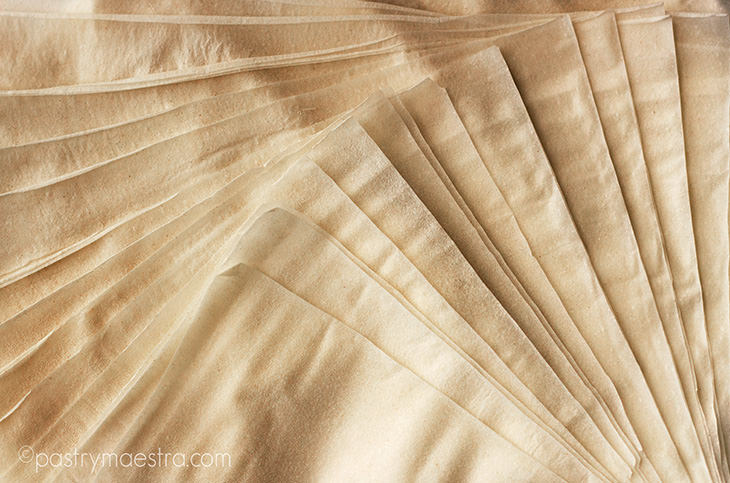
Making phyllo dough is rather demanding, and it requires time and skill. The dough has to be gradually stretched into a large paper-thin sheet, also called yufka in Turkey. To achieve that, it is necessary to have a large table and a very long and thin rolling pin, or oklava. Phyllo doesn’t have its characteristic taste, so the sheets are always brushed with oil or melted butter and used as a base for numerous Middle Eastern and Mediterranean sweet and savory dishes.
How to Make Phyllo (Filo,Fillo) Dough?
The first step is to prepare and weigh your ingredients – flour, water, vinegar, oil, and some salt. It is recommendable to sift the flour when making basically anything, so I do that almost always – you get rid of any impurities and aerate the flour. Add salt to the flour and there you have your dry ingredients. Now combine all the liquid ingredients in another bowl.
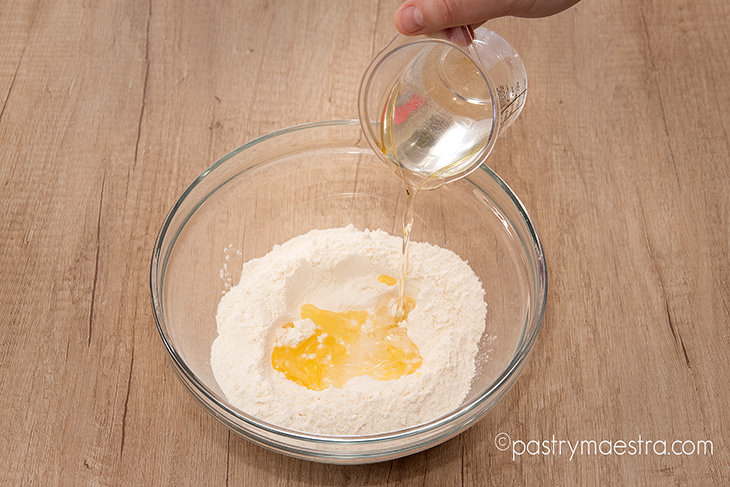
Pour the liquid ingredients into dry ones and mix thoroughly to make dough. Knead it well and vigorously to develop the gluten as much as possible.
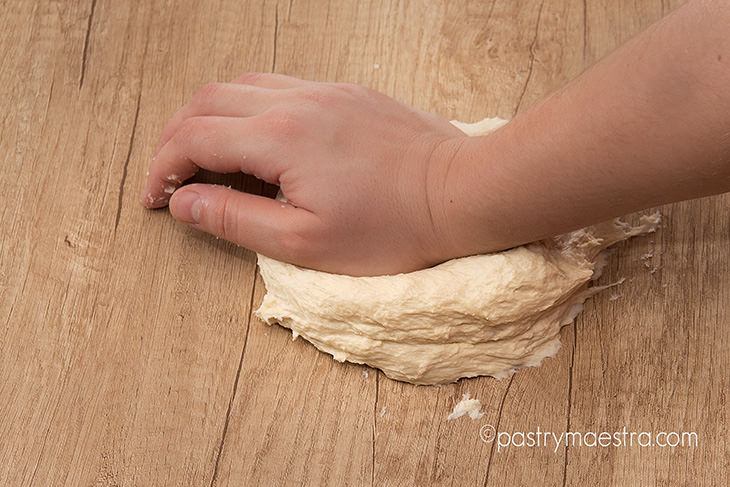
It is recommendable to use bread flour (high gluten flour) for the same reason. The dough should be soft and smooth, and it should be neither sticky nor too tough. Brush the dough with some extra oil and leave it to rest at room temperature for approximately 1 hour.
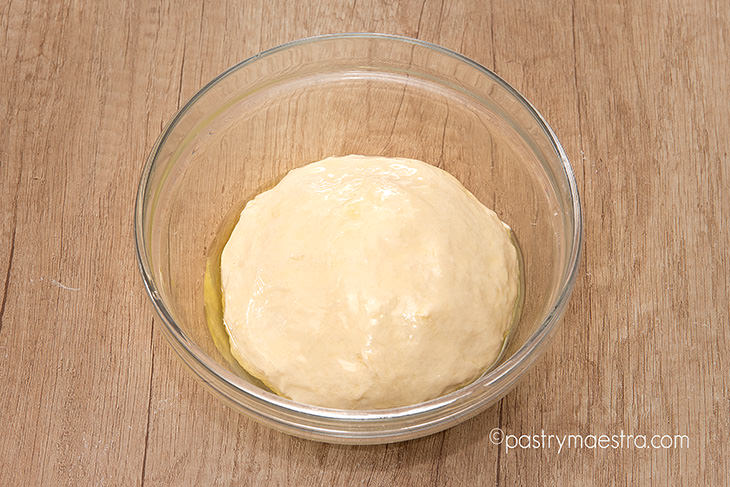
Your dough should be properly rested, and you can know that by pressing your finger into it. If it springs back immediately, you need to leave it for 5-10 minutes more, and if the mark of your finger stays in the dough that means it is ready for some stretching.
Sprinkle some flour on the table and gently start rolling the dough with the rolling pin or oklava. The dough shouldn’t stick to the surface, but you should avoid adding too much flour because it will affect the structure and the elasticity of your dough. Keep rolling your dough with the rolling pin till you make it as thin as possible.
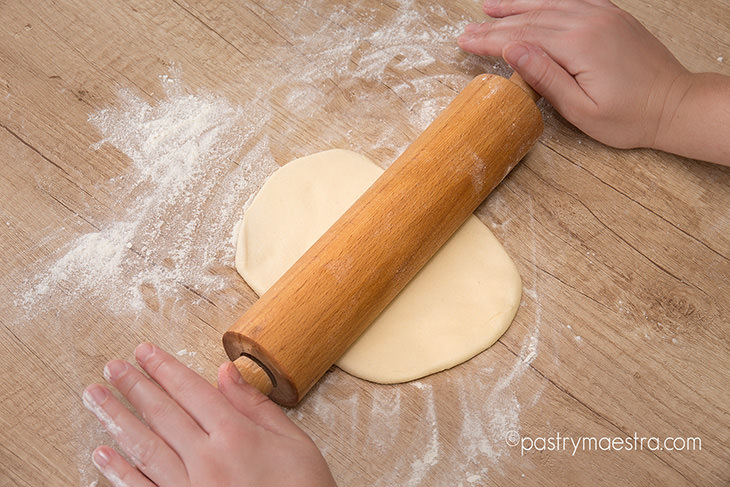
Transfer the dough on a tablecloth, slip your hands under it and gently start stretching until the dough becomes transparent. The trick is – it shouldn’t break, you should end up with one large and thin sheet of dough – yufka.
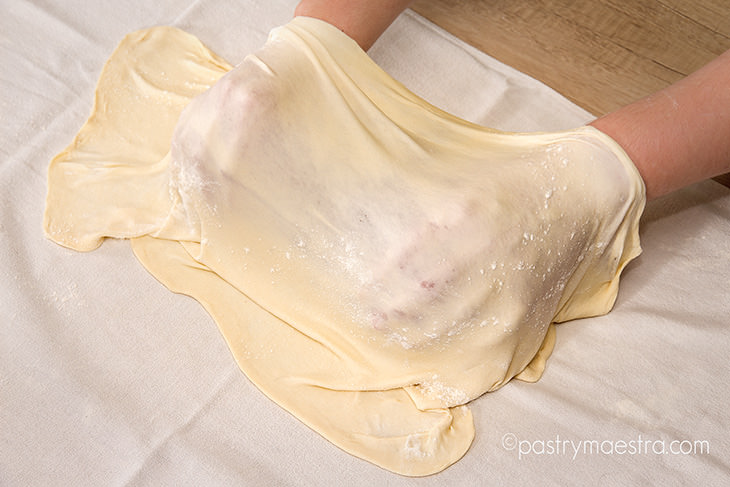
There, you have just made your first sheet of phyllo! It was fun, right?
What Can You Make with Phyllo (Filo, Fillo) Dough?
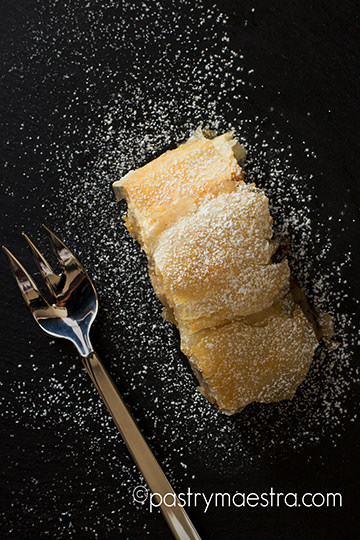
You have successfully stretched your phyllo, and now what? Would you care for something sweet or you have more of a savory craving at this moment? I wouldn’t think about it too much, make ’em both!
Even if you have never been to Europe, you have probably heard about apple strudel (Apfelstrudel), a famous Viennese delight made of sliced apples with some cinnamon and raisins, wrapped in buttered phyllo dough. If you have never tasted this treat, there’s your excuse for buying an airplane ticket and start browsing through old traditional Viennese coffee houses and pastry shops! Apple strudel is usually served immersed in vanilla flavored Crème Anglaise, which is a lovely combination. However, if you decide to make your strudel at home, before your Vienna trip, you can, without feeling guilty, pop a scoop (or two) of vanilla ice cream on your warm strudel, mmm…I’m sure that your folks at home (or your guests, for that matter) won’t mind, quite the contrary! Besides the most famous apple strudel, there are other fillings you can find, or make at home, like plum strudel, poppy seed studel or cream cheese and sour cherry strudel etc, etc…
Now that you’ve tried everything Vienna can offer, along with a few pounds extra, you can continue your trip towards south, to my neighborhood – Bosnia. When you come to Sarajevo, the capital of Bosnia and Hercegovina, there you can find two must-try phyllo-based dishes. The first is the pita. You should know that pita in Bosnia is very different than pita bread – a well known flatbread, also originated in Middle East. However in Bosnia, pita is a phyllo dough savory dish, filled with cottage cheese, spinach or potatoes and onions, and the one filled with mince meat is called burek (bourek). The other dish, and a sweet one indeed, is baklava.
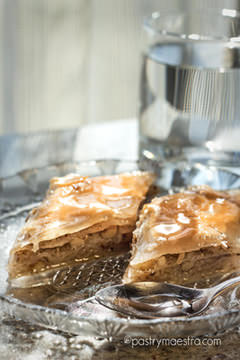 You can find baklava in any Middle-Eastern country, and in each one it will be a bit different. The Bosnian baklava is filled with walnuts; diamond shaped, very sweet and moist, with lots of sugar syrup. If you have a sweet tooth, baklava is a must!
So, if you continue to travel further towards Middle East, you will discover more and more phyllo dough treats, sweet and savory, but interesting and delicious. For example, in Greece and Turkey you will find various phyllo wraps, rolls, swirls, triangles, boreks and pitas. Baklava in Greece can be filled with walnuts, almonds or beautiful green pistachios (my favorite!). There is one more interesting phyllo pastry product that you may have never heard of – kataifi.
What is Kataifi?
Kataifi, pronounced [ka-ta-ee-fi], is shredded phyllo dough. It looks like angel hair pasta and it can be found at Eastern Food specialty shops and some supermarkets, generally where you find phyllo pastry. If you buy it frozen, allow to defrost at room temperature, before using. As the pastry is full of long, thin strands, it doesn’t matter if you cut it or pull the strands apart, and once baked, it is lovely and crispy just like regular phyllo. Kataifi can be placed on the bottom of the pan, buttered, sprinkled with some sugar, and then baked. Prepared like that, they are excellent crispy base for sweet dish. They are also often wrapped around a nut – almonds, hazelnuts or cottage cheese filling, transformed into a bite sized sweet treat.
10 Helpful Tips for Phyllo (Filo, Fillo) Dough
- If you decide to make your own phyllo pastry, you should use it immediately since it would be very difficult to store it. If you really want to store it, you should dry it a bit first.
- Use a soft bristle brush to spread oil or melted butter over phyllo, a hard bristle brush can break your delicate pastry.
- Fillings, whether sweet or savory, should be chilled and not excessively moist.
- If you are using store-bought phyllo, do not leave it uncovered for more than one minute to avoid drying out.
- The store-bought phyllo is thinner and (probably) smaller than home-made one, so you will need to use a few sheets instead of just one large sheet of streched yufka. Be careful and brush each sheet of phyllo dough before you put the next layer or filling.
- You can freeze store-bought phyllo, but make sure you thaw it completely before using.
- If your phyllo dries out, it will break when you start to work with it.
- Don’t forget to brush the last layer of phyllo, too.
- Bake phyllo dough snacks on parchment paper.
- Get hungry!
Well! This post was a handful and, sure enough, all this talk about delicious food made my stomach growling angrily! Therefore, I’ll have to make me some bourek ASAP! Can’t wait!
I hope you’ll do the same and enjoy each bite of your snack! Bon appétit!
Phyllo Dough Recipe
by:Tereza Alabanda,The Pastry Maestra
Prep. time : 20 minutes
Cook time : 20 minutes
Ready in 90 minutes
Level : Advanced
Ingredients:
- Salt 3g (1⁄2Tsp)
- Water 150g (5.3oz)
- White vinegar 5ml (1Tsp)
- Vegetable oil 20ml (4Tsp)
- All purpose flour 250g (9oz)
- Extra vegetable oil for brushing
- Extra flour for stretching
Directions
- Sift flour and salt. In another bowl mix liquid ingredients and add them to the flour.
- Knead until the dough becomes uniform. Brush the dough with more vegetable oil, and leave it to rest for approximately 30 minutes.
- Dust your counter with some flour and roll out the dough with a rolling pin. The dough shouldn’t stick to the surface, and it should be as thin as possible.
- Then, slip your hands under the dough and stretch it gently fith your fingers from the centre towards the edges, until it becomes almost transparent. Be careful not to tear the dough!
Copyright© PastryMaestra.comTM


