A
h, Le Macaron! This sweet little masterpiece from France is a serious pain in the you-know-where to make for many pastry enthusiasts – heck – even some trained chefs have been known to throw the whole batches to trash! But hey – don’t worry, with this step by step recipe, you’ll be able to ace it every time!
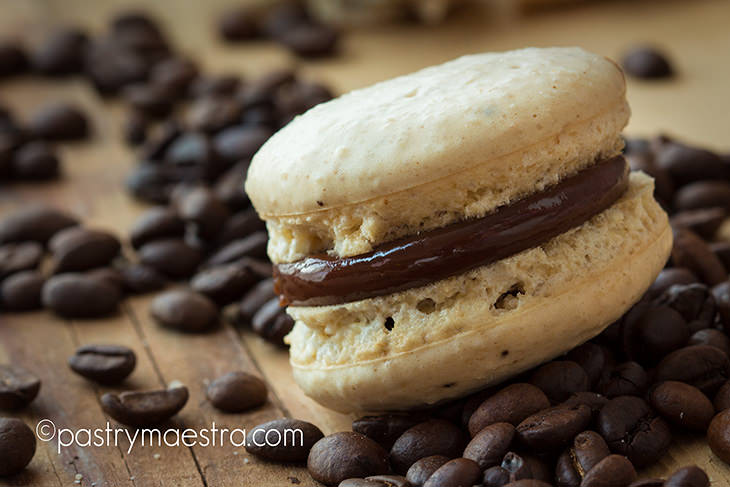
Who Invented Macarons?
Between you and me – macaron is a cookie – but, since I was trained in France I have to give you a proper definition which is: macaron is a cookie-like dessert made of almonds, sugar and egg whites. There, now my French Chefs will be pleased with me!
Anyway, macaron was probably invented in the Medieval Italy, when the Arabs brought almonds from the Middle East. It is believed that macaron got its name from the word maccherone [makerone] or macaroni [makaroni] which means „fine pastry“ when translated from Italian. In 16th century, Caterina de Medici, the Italian noblewoman who married Henry, the duke of Orléans and the future king of France, brought these delicious treats from Italy to France. Back then, macarons didn’t look anything like today, though! They were rough, not much to look at, simple almond cookies.
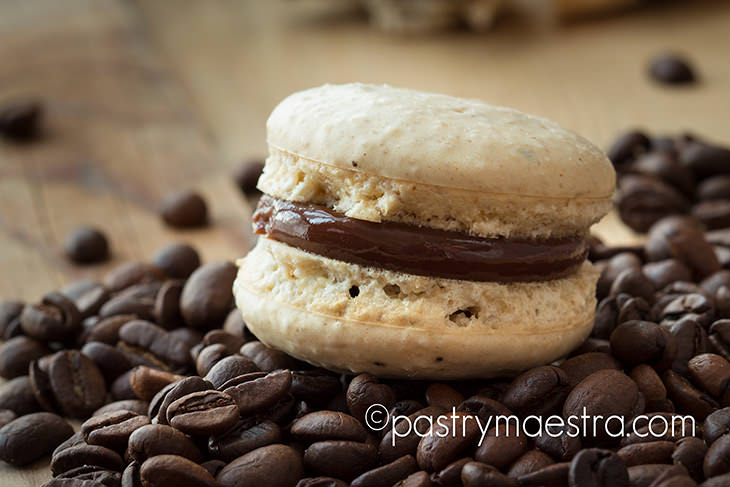
However, the macaron that we all know and love – or, to be really precise – two macaron shells filled with scrumptious filling – appeared only recently thanks to Louis Ernest Ladurée, a French miller who was selling his famous bread in his bakery in Rue Royal, Paris. In 1871 his bakery vanished in a fire, but he rebuild and improved it, repurposing his space to a classy tea room that instantly became popular among ladies who were allowed to come and drink a cup of tea or hot chocolate with pastries. Remember, at that time women weren’t allowed to come into coffee shops (!!), only men had the privilege of enjoying in that pleasure! Bad times! Anyway, monsieur Ladurée was not the one who invented our beloved modern macaron – it took some thirty or forty years, but finally, somewhere at the beginning of 20th century, his grandson – a young pastry chef Pierre Desfontaines, came to an unusual idea – he took two macarons and sandwiched them with some ganache in the middle. Now, was that a stroke of genius or what! Finally, the macaron was born and the rest is – as they say – history…
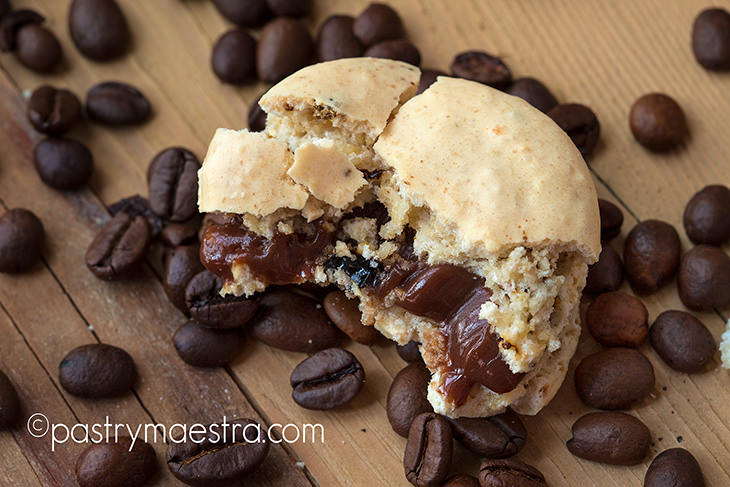
Today, some hundred years later, you can buy macarons anywhere, and just in Ladurée laboratoire (in Paris, France) they make 370 kilos (almost 816 lbs!) of these fancy colorful delights EVERY DAY, imagine that! So, when in Paris, visit one of Ladurée’s shops by all means!
Can I Make My Own Almond Flour to Make Macarons?
You can buy always some good quality blanched almond flour , however, if you prefer to make your own almond flour, I’ll teach you how to do that.
First you need to blanch the almonds. Put raw almonds into boiling water and leave them to boil for one minute. Strain them and cool them under cold water. At this time you will notice that the skin is a bit wrinkled. Pinch the almonds, one by one, and the skin will peel off. Discard the skins, and put blanched almonds on a baking tray and leave them in the oven at 100°C (212°F) to dry out. Be careful – they shouldn’t change color! Once completely dry, put them in the freezer to cool down. Weigh the almonds (the amount of almond flour in your recipe) and granulated sugar (the amount of powdered sugar in your recipe). Combine the two and put them into a coffee grinder and ground to fine consistency. Be careful not to grind too long because if the almonds heat up too much, they will start releasing the oil and you will get a very oily and clumpy mess.
So, the answer is yes, you can make your own almond flour, however it takes some time and effort.
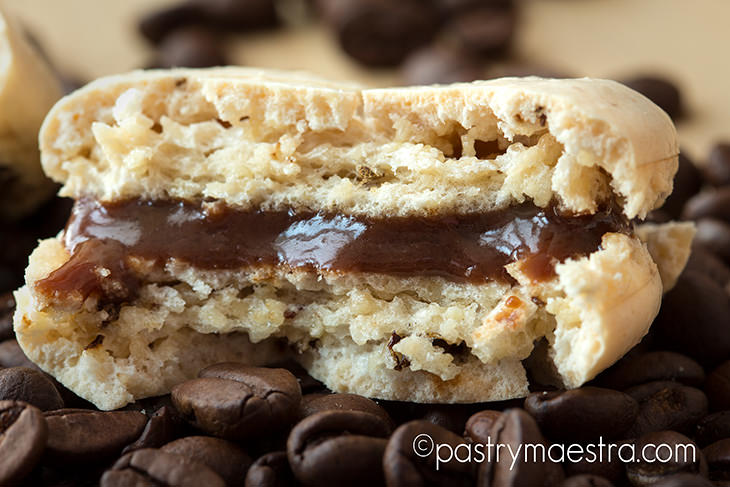
Which Egg Whites to Use?
The fresh egg whites are not the best option when making macarons. Why not?
Well, if you remember my post about eggs, you might recall that egg whites contain a lot of water and some protein. When the egg whites are freshly separated from the egg yolks, its protein bonds are strong. You can see that – the egg white is firm and it holds itself, it is difficult to break it down. If the egg whites sit in a bowl for a couple of days you will notice that they became pretty liquid and not so firm as they were before. Those, liquefied egg whites are the best for making macarons!
Three Methods of Making Macarons
French Meringue Method
This is the easiest way to make macarons and always get good results. You need to sift almond flour and powdered sugar and mix them together.
Make French meringue from the egg whites and granulated sugar. If you need to remind yourselves of different ways to make meringue, hop to my post and learn how to make meringue like a pro.
Finally, fold the dry ingredients into the meringue.
Italian Meringue Method
You will quickly recognize this method in the recipe. When you see egg whites twice in the recipe – it is Italian meringue method!
Italian meringue method includes mixing sifted almond flour and powdered sugar with liquid egg whites into a thick paste. From the other ingredients – second amount of egg whites and granulated sugar you make Italian meringue. Fold meringue into the paste and you have just made macaron batter. You can check my mango and white chocolate colorful macarons to see this technique.
Swiss Meringue Method
Make Swiss meringue from the egg whites and granulated sugar.
Finally, fold the dry ingredients into the meringue.
Look at my refreshing lemon and mint macarons and learn this technique!
How Long and How Thoroughly do I Stir the Mixture?
How do you know how much to stir the mixture when folding the ingredients? Now THAT is the million dollar question!
After all, proper mixing of the ingredients aka macaronage (you can use this word if you want to show off in front of your friends) is one of the most important steps when making macarons. If you don’t mix the batter enough, you will end up with a rough meringue cookie, usually pointed on the top. Mix the batter too much, and when you pipe macarons, they will spread way more than they are supposed to, and loose their round shape. Neither is a good thing.
Remember making sponge cake? When you mix the yolks, meringue and dry ingredients it is of most importance that you don’t overmix the batter, and that you don’t loose the air incorporated into the meringue. You will achieve that by folding the ingredients just enough until you get a uniform mixture and not a single stir more! With macaron batter it is a little bit different.
You do fold the meringue until it is all incorporated, but for making macarons it is necessary to overmix the batter! And not just that, you need to overmix it to a certain point!
Seems too complicated? Don’t worry, it’s not! The batter has to be smooth, shiny and when stirred, it has to slowly become smooth on the surface, that’s all!
How to Pipe Perfect Macarons?
The goal is to pipe perfect, same sized circles. Now, that can be a bit difficult because the batter spreads a little bit after it is piped, so you may look at the macarons you’ve already piped as a guide, and end up with bigger and bigger ones at the end. The solution? Make a template!
If you are using macaron silicone mat, you won’t have any problems with piping. However, if you are piping your macarons on parchment paper, or a plain silicone mat, I suggest that you print a template and stick it under your paper or silicone mat (assuming it is transparent). If you only have non-transparent silicone mat, you can take a round cookie cuter, approximately 5cm (2 inches) in diameter, stick it into powdered sugar and lightly touch your mat. All you have to do next is fit your piping bag with a round 10mm (approximately 3⁄8 of an inch) tip, fill it with macaron batter half way and carefully pipe macaron shells.
Drying and Baking Macarons
Before you put these puppies into the oven, you will need to let them dry for a while. This step could take from 30 minutes up to a couple of hours, depending on the humidity. The easiest way to check if they are ready is to gently touch them with your finger. If your finger doesn’t stick to macarons, and you can feel a thin crust on the top, they are ready to go!
Bake them at 130°C (266°F) for about 20 minutes. Every now and then open the door shortly to let the moisture out. That way you will prevent crackling. When they don’t stick to the surface any more, they are done.
What Filling to Use?
Remember ganache? If you ask me, that is the match made in heaven! Of course, you could fill them with buttercream, diplomate, chiboust, or with jam. But for me, nothing beats ganache!
When to Eat Macarons?
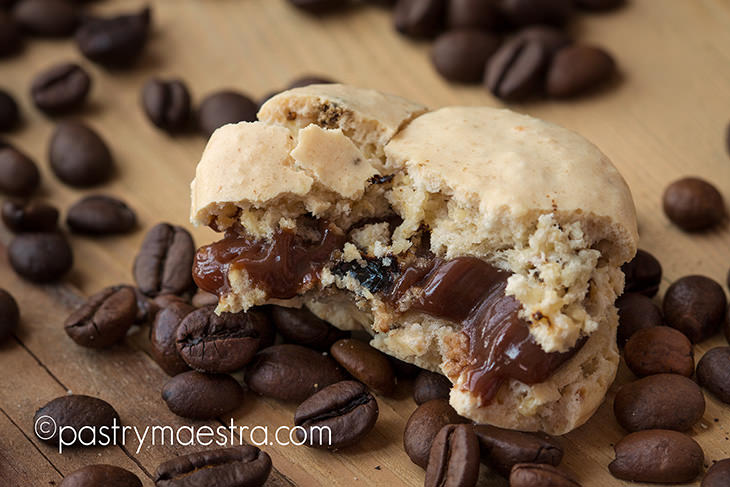
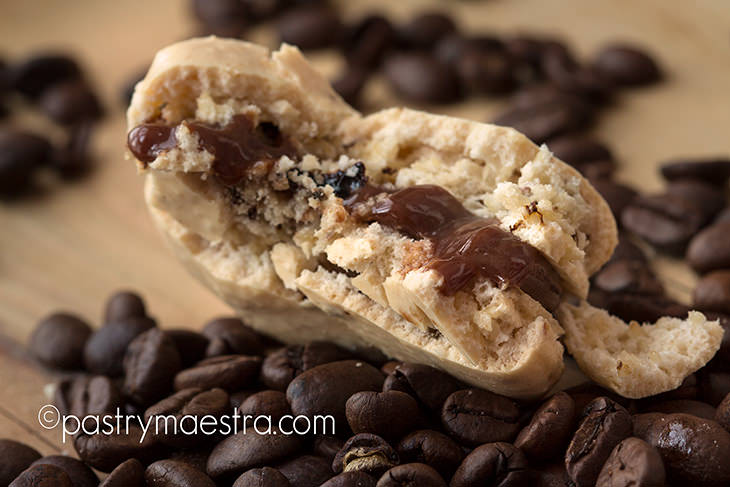
All the time, if you ask me! However, there is a catch – and, as we all know – “Good things come to those who wait”. Totally applicable here! So – if you can find the strength within you – just wait! After filling, macarons should sit in the fridge for 24 hours, and when you take them out from the fridge you should leave them alone for ANOTHER 2 hours before tasting! Unbearable torture, I know… Anyway, during that time, the humidity from the filling will penetrate into the shells just enough to make them perfectly soft and deliciously yummy! Find your inner strength, just do it! Just do it, I dare you! :)
Coffee and Chocolate Macarons Recipe
by:Tereza Alabanda,The Pastry Maestra
PRINT PDF (EN) ISPIŠI PDF (HR)Prep. time : 30 minutes
Cook time : 20 minutes
Ready in 50 minutes plus drying and cooling
Level : Advanced
Ingredients: Macaron Shells- Almond flour 110g (3.9oz)
- Powdered sugar 200g (7oz)
- Instant coffee powder 12g (3Tsp)
- Egg whites 110g (3.9oz)
- Sugar 80g (2.8oz)
- Milk chocolate 300g (10.6oz)
- Double cream 150g (5.3oz)
- Butter 50g (1.8oz)
- Line two large sheets with parchment paper. If you have nonstick silicone mats, use them instead of the paper.
- Prepare two large piping bags and one 10mm (approximately 3⁄8 of an inch) round tip.
- Sieve almond flour and powdered sugar into a large bowl.
- Add 2Tsp (8g) of instant coffee powder inside and stir well.
- Make French meringue from egg whites and sugar. Whisk egg whites to soft peaks and gradually add sugar. Continue whisking until you get firm glossy meringue.
- Fold in dry ingredients using a silicone spatula until incorporated. The batter should be glossy and slightly runny, like a thick cake batter. If it is still dull and rather firm, continue mixing until you get the desired consistency.
- Fill your piping bag fitted with 10mm (approximately 3⁄8 of an inch) round tip with the mixture and pipe circles. If you don’t have macaron silicone mat, you can use a template under your parchment paper or plain transparent silicone mat.
- Leave macaron shells at room temperature to dry. When you lightly touch them with your finger, they shouldn’t stick, but they should be dry. The amount of time you need to leave them will vary from 30minutes to a couple of hours, depending on the humidity. If you have an AC or a fan that directly blows at your macaron shells, that will speed up the process.
- Bake your macaron shells at 130°C (266°F) for about 20 minutes. Make sure to open the oven door every now and then to allow the moisture to escape.
- Take your macaron shells out of the oven and let them cool.
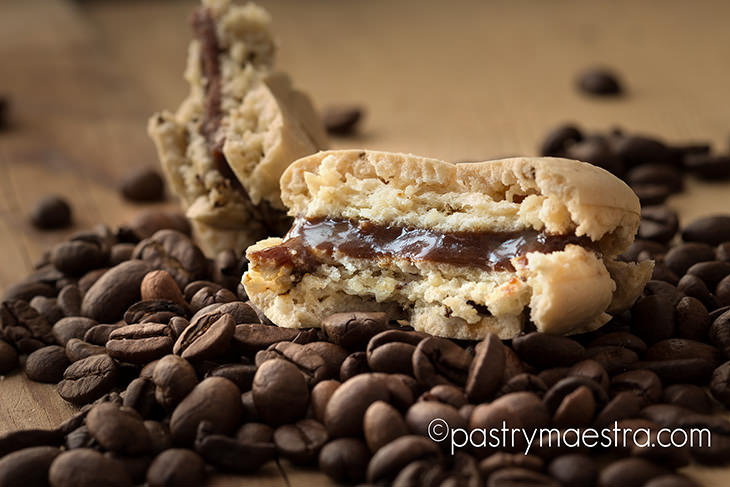
- To make milk chocolate ganache melt milk chocolate in the microwave and heat the cream. Gradually pour the hot cream over the chocolate, and stir until you get a glossy uniform ganache. Add softened butter, and stir until it melts. Leave it at room temperature to cool down.
- When your ganache cools down to a pipeable consistency, Fill your piping bag fitted with 10mm (approximately 3⁄8 of an inch) tip.
- Remove macaron shells from the mat and assemble them two by two.
- Pipe a blob of ganache on one shell and sandwich with another shell.
- Put macarons in the fridge to set, preferably overnight.
Copyright© PastryMaestra.comTM
Well, what do you think about this post?
Please leave your comment on YouTube, thank you!
I read and really appreciate all the comments, even though I do not always have the time to respond to each one. So – keep me in the loop and try to create some sweetness every day because – Sweetness is happiness!!


