I
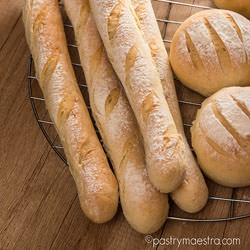
f you somehow haven’t noticed yet, I really love bread! I love making bread, and I sure do love eating all kinds of bread (not just baguette). I simply enjoy browsing through enormous shelves filled with all kinds of flour and picking the right one for my next recipe, or just trying out a new one to see how it will turn out in one of the well-known recipes. As for the yeast, I actually prefer the fresh one over the dry yeast, because I find that it gives the dough more volume. Of course, if I don’t plan ahead, dry yeast is just fine, especially if I am too lazy to go to the store! If you would like to learn more about yeast, check my post about leavening agents.
2 Types of Yeast Doughs
There are two main types of yeast-raised doughs:
- Lean yeast dough contains four basic ingredients: flour, water, salt, and yeast, with a possible addition of small quantities of sugar and fats. Those are ingredients that are used for making most savory breads.
- Enriched yeast dough contains the same four ingredients, but they also call for extra fat (butter), some sugar and eggs. With proper manipulation of all the ingredients, you can make a large variety of breads.
How to Make Yeast Dough?
Scaling the Ingredients
It is important to measure ingredients accurately, and it is preferable to have them at the proper temperature. All ingredients combined and well kneaded should reach 25ºC (77°F). The amount of flour may vary, depending on the humidity level and the amount of protein in the flour. Flour with more protein will absorb more water.
Mixing and Kneading the Dough
The yeast dough must be kneaded properly, so the ingredients are combined uniformly, and the gluten is developed. There are several methods of mixing the yeast dough:
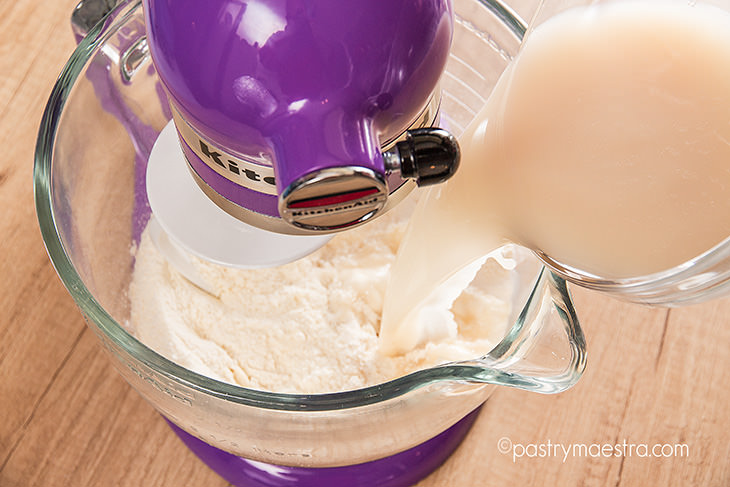
- Straight Dough Method is the simplest and the most common method of mixing yeast dough. Yeast is first dissolved in water, and then it is added to flour and salt mixture. After that, the dough is kneaded until it becomes smooth and elastic.
- Sponge Method has two stages. First we mix yeast, liquid and half of flour to make a thick batter – sponge (Fr. poolisch). The sponge is then left to rise until doubled in size (this mixture can be prepared for up to 16 hours in advance, depending on the quantity of yeast). After that, the remaining ingredients are added, and the dough is kneaded and left to ferment again. This method gives lighter texture and different flavor to the breads.
- Old Dough Method (Fr. pâte fermentée [pat fεrmɑ̃te]) is a method of adding a piece of dough from the previous batch to a new batch at the end of mixing. Up to an equal amount by weight of old dough can be added to the new batch of dough that will improve the flavor of the bread. Old dough can be stored in the refrigerator for up to 3 days.
- Sourdough Starter Method is based on a sourdough starter – dough that contains wild yeasts and bacteria which gives the acidity and specific flavor to the bread. Sourdough is also called a natural starter, and it is prepared by mixing flour and water and letting this mixture stand until wild yeasts begin to ferment. Starter is “fed” with flour and water each day until the yeast develops, and then it is used to leaven bread. A piece of the starter is saved and mixed with more flour and water so it can be used again the next day.
Bulk Fermentation
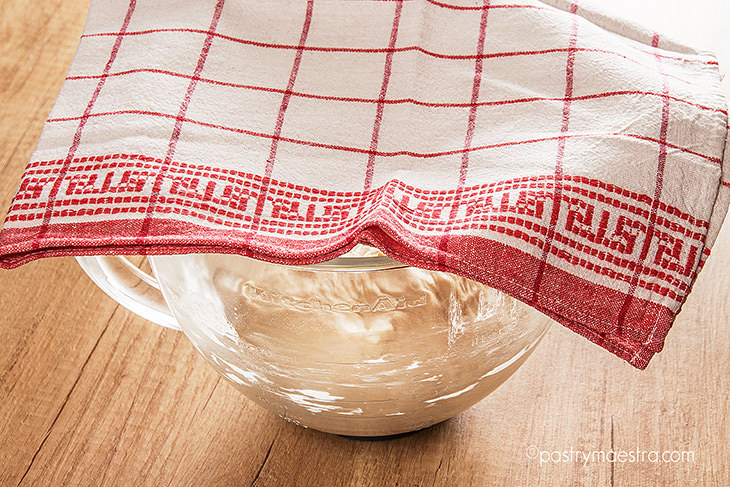
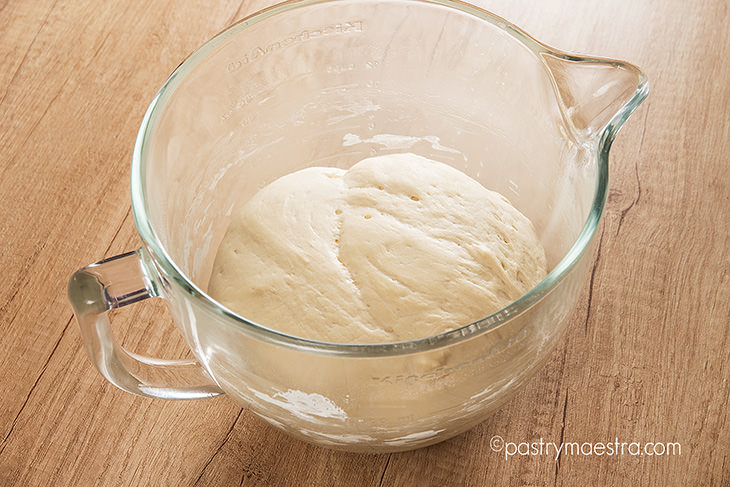
This stage of making yeast dough refers to leaving the whole mass of the dough to rise. Fermentation is a process in which yeast feeds on starches in the dough converting them into carbon dioxide and ethanol. Carbon dioxide stays “trapped” in the dough thanks to elastic gluten strands. Place the dough into a container large enough that the dough can double in volume and oil the dough, so it doesn’t dry out. Cover the dough and place it at a temperature between 24°C (75°F) and 29°C (84°F).
Punching Down the Dough
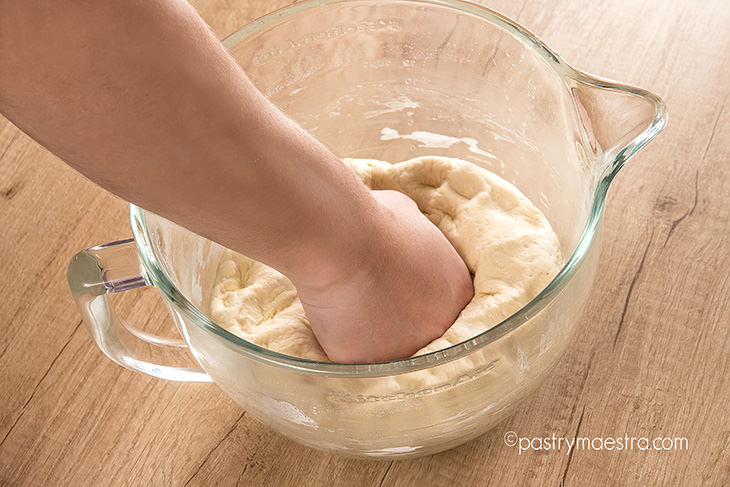
After bulk fermentation, the dough is gently punched with a hand to redistribute the air pockets. It also evens the dough temperature and relaxes the gluten.
Portioning and Rounding the Dough
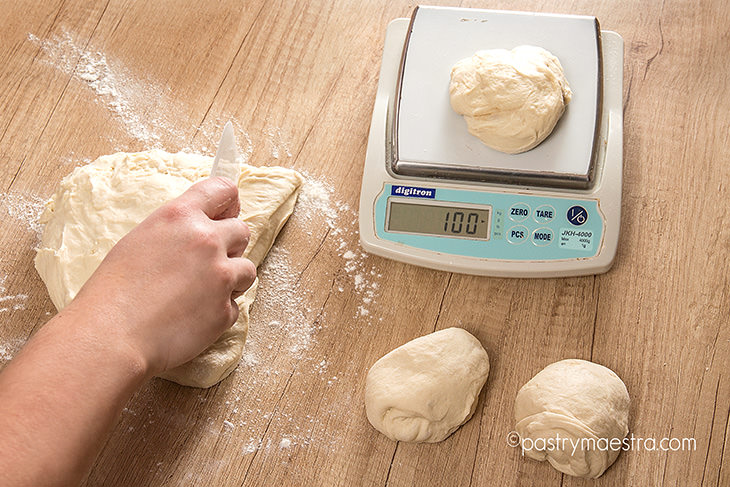
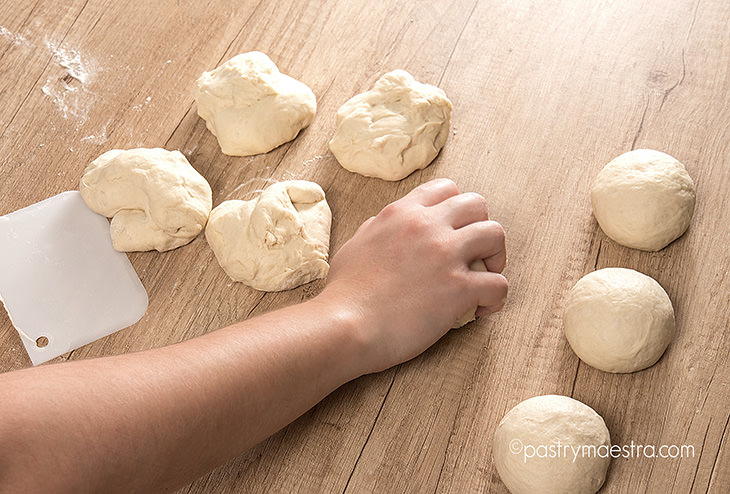
After punching, it is time to portion the dough. The best way is to scale the dough in desired weight, whether you are making loaves or bread rolls. The dough can be cut with a chef’s knife or a dough cutter and rounded into smooth round balls which helps later shaping of the dough and holds the gasses.
Shaping, Makeup, and Panning
Yeast doughs can be shaped into a large variety of forms – loaves, free-form rounds, rolls or buns. When you want the dough to hold the specific shape, it is best to put it in a matching pan at this stage. You can make free-form shapes, but you can also use baskets that will hold the shape of the dough and leave a distinctive imprint on the bread.
Proofing
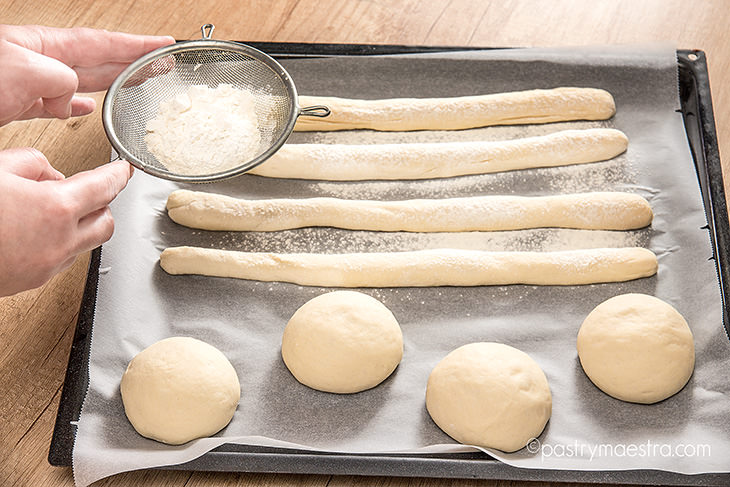
Proofing is the second and final fermentation of yeast dough before it is baked. The temperature should be between 27°C (80°F) and 46°C (114°F). If you don’t prove the dough enough, bread won’t rise enough in baking, and it won’t have good texture. On the contrary, if you overproof the dough, you will get a paler crust, poor volume and sour flavor. Just before baking, the wash can be applied, that will impact the color and the texture of baked crust, depending on the type of the wash. Egg yolk gives shine and darker and softer crust while egg white results with shine and firm crust. Bread is often topped with flour instead of wash before baking, which gives texture and contrast. Melted butter, oil or starch wash are applied on the dough immediately after baking.
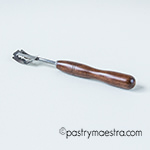
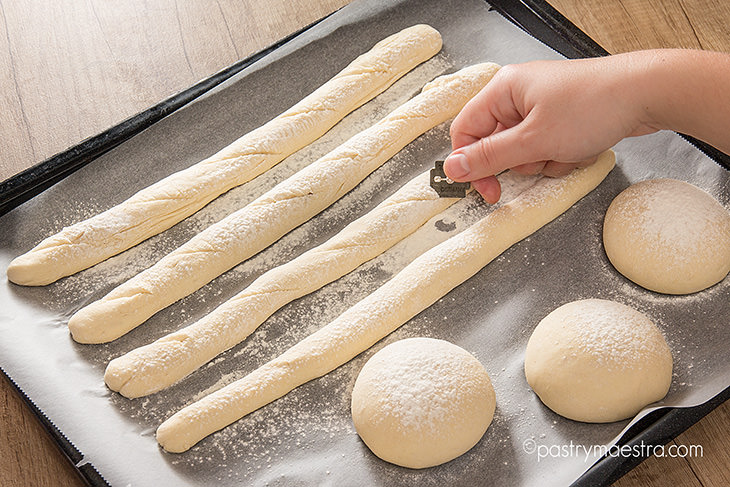
Just before baking we can improve the appearance of the bread by cutting its top with a knife, scissors or a razor. That way, even after the crust is baked, the gasses are allowed to escape, and the dough rises uniformly. If the bread is not properly scored, the crust could break randomly.
Baking
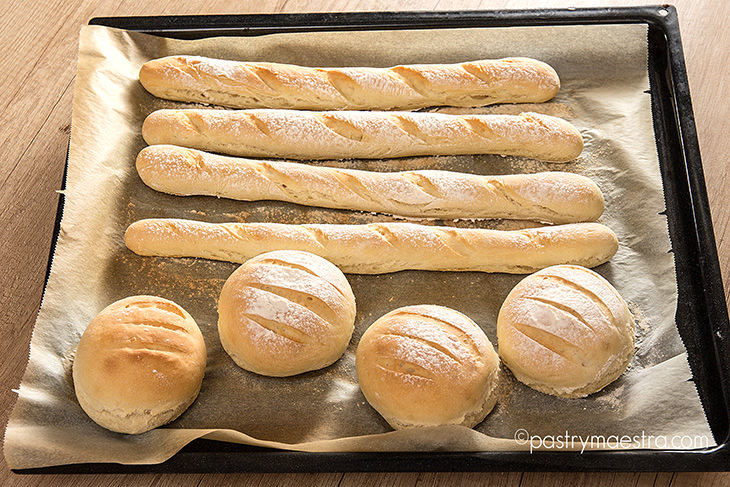
Most breads are best baked in the oven preheated to 220°C-230°C (428°F-446°F). Bread is baked when it gains deep brown crust, and when tapped on the bottom, it sounds hollow.
Cooling and storing
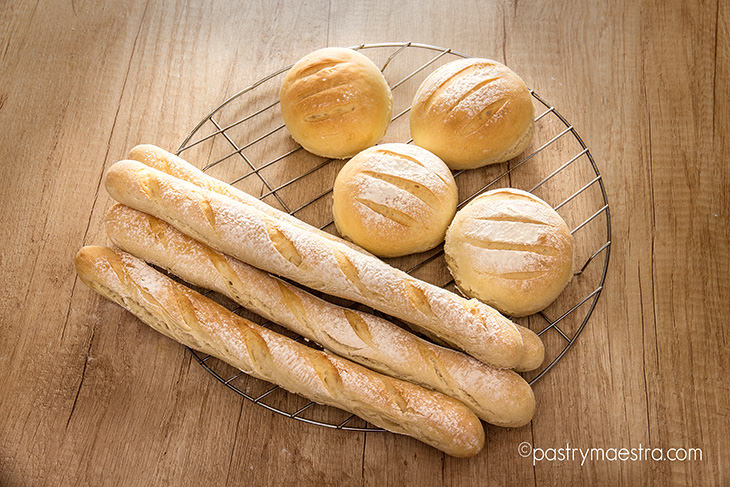
Bread and other yeast dough products should be cooled on racks (to avoid condensation of the moisture on the bottom), and they should be cooled completely before cutting.
Well, it isn’t as complicated as it seems, and once you make your own bread, you will become addicted to bread making! I know I am. And with this thought, I am off to make simple bread rolls!

Simple Bread Rolls Recipe
by:Tereza Alabanda,The Pastry Maestra
PRINT PDF (EN) ISPIŠI PDF (HR)Prep. time : 15 minutes
Cook time : 20 minutes
Ready in 105 minutes
Level : Basic
Ingredients:- Bread flour 500g (1.1lbs)
- Salt 8g (2Tsp)
- Water 300g (10.6oz)
- Fresh yeast 20g (0.7oz)
- To make the dough, mix water with yeast, and stir until the yeast dissolves.
- Put flour and salt into a bowl of a stand mixer fitted with hook attachment, and mix on low speed. Add water with yeast and continue mixing for about 10 minutes. Cover the dough with a cloth and let it ferment for about 30 minutes, until it doubles in size.
- Take the dough onto floured counter and punch it to get rid of the large air pockets. Divide it into 85g (3oz) pieces.
- Shape each piece into a ball and place them onto paper lined baking tray. Leave rolls to ferment for about 20 minutes.
- Brush them with egg wash, and score their surface with a lame. Bake them at 200°C (400°F) for 15-20 minutes, until golden.
- Place them on a rack and leave to cool down.
Copyright© PastryMaestra.comTM
Well, what do you think about this post?
Please leave your comment on YouTube, thank you!
I read and really appreciate all the comments, even though I do not always have the time to respond to each one. So – keep me in the loop and try to create some sweetness every day because – Sweetness is happiness!!


